


I received an e-mail the other day asking me how I made the scallop trim rectangle on this card. I'm going to attempt to provide a tutorial. (But please know that I am no expert and sort of made this up as I went along during my first attempt). Sorry that I went a little overboard with the photos. I just wanted to make sure you knew what I was doing every step of the way!
1. Start off with a piece of card stock larger than your intended rectangle size. Mine is a 3" x 3" square which gives me lots of room to work with to make a 4 large scallop x 3 large scallop rectangle.
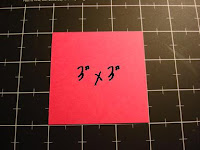
Materials needed: cardstock, SU! Scallop Trim punch, SU! Scallop Trim Corner punch, Paper Trimmer
Note: I will refer to my rectangle using cardinal directions and measurements refering to large and small scallops.
Note: I will refer to my rectangle using cardinal directions and measurements refering to large and small scallops.
1. Start off with a piece of card stock larger than your intended rectangle size. Mine is a 3" x 3" square which gives me lots of room to work with to make a 4 large scallop x 3 large scallop rectangle.
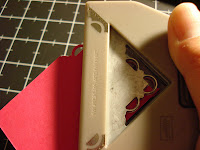
2. Insert one corner into the Scallop Trim Corner punch. Make sure cardstock is flush with the edges. Punch cardstock.
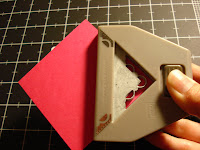
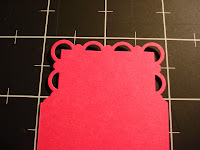
3. Insert your Northern edge into Scallop Edge punch to create the long side of the rectangle. Align carefully and punch.
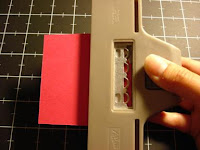
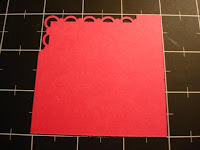
Your punched piece should look like the photo below.
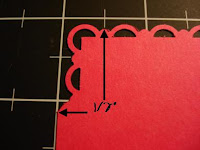
4. Trim your cardstock 1/2" from the last small scallop that you desire. In this case, I want my rectangle to measure 4 large scallops x 3 large scallops, so I am cutting my card stock 1/2" from my 3rd small scallop.
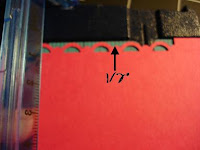
6. Again, cut your card stock 1/2" from the center of your last small scallop. In this case, you will use the last bump created by your previous punch.
8. Now punch the long Southern edge, carefully aligning the Southeast corner on your punch.
You should only have a tiny bit left to punch!
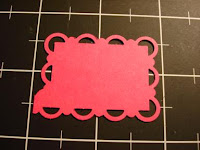
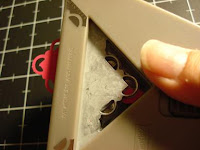
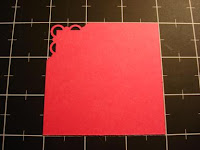
This is what your cardstock will look like with the Northwestern corner punched:
3. Insert your Northern edge into Scallop Edge punch to create the long side of the rectangle. Align carefully and punch.
Your punched piece should look like the photo below.
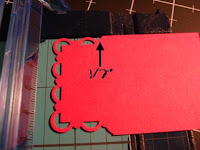
Notice that the measurement from the center of the small scallop to the edge of your original card stock is exactly 1/2". This will help with trimming and alignment for your rectangle.
4. Trim your cardstock 1/2" from the last small scallop that you desire. In this case, I want my rectangle to measure 4 large scallops x 3 large scallops, so I am cutting my card stock 1/2" from my 3rd small scallop.
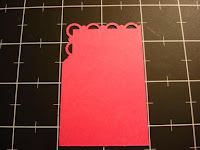
Your cut piece will look like this:
5. Next, align carefully and punch the next corner, the Northeast corner.
Your piece should look like this.
6. Again, cut your card stock 1/2" from the center of your last small scallop. In this case, you will use the last bump created by your previous punch.
Your cut piece will look like this:

7. Align and punch the third corner.
Your piece should now look like this:

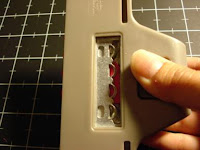
8. Now punch the long Southern edge, carefully aligning the Southeast corner on your punch.
You should only have a tiny bit left to punch!
9. Make your final punch in the Southwest corner. Be extra careful to line up both sides of your piece.
Voila!

10. You can create a center mat for your Scallop Trim rectangle by cutting a piece of contrasting card stock 1 3/8" x 1 7/8". The "You're too Kind" sentiment from Whimsical Words fits this size perfectly!


 5. I added a second layer of panels to my door to make it look 3-dimensional and more realistic. Measurements are below.


